Function Room Setup
When users click the Setup hyperlink in the Function Rooms section, they are navigated to the Function Room Setup screen. The following tabs are displayed in this screen:
-
Style
-
Facility
Style Tab
This tab allows users to configure the function room styles. Users can configure various styles such as conference, banquet, classroom and so on.
To configure a new style, users must click the Add button. When clicked, the Add New Style pop-up screen appears that displays the following fields:
|
Field |
Description |
|---|---|
|
Active |
Select the checkbox to activate a style. This checkbox is selected by default. When users deselect this checkbox, the created style cannot be applied when configuring function rooms for the property. |
|
Code |
A unique code for a style. This is a mandatory field. The code configured for a style cannot be modified. |
|
Name |
A unique name for a style. This is a mandatory field. |
|
Description |
A description for the style. This is an optional field that allows users to enter. |
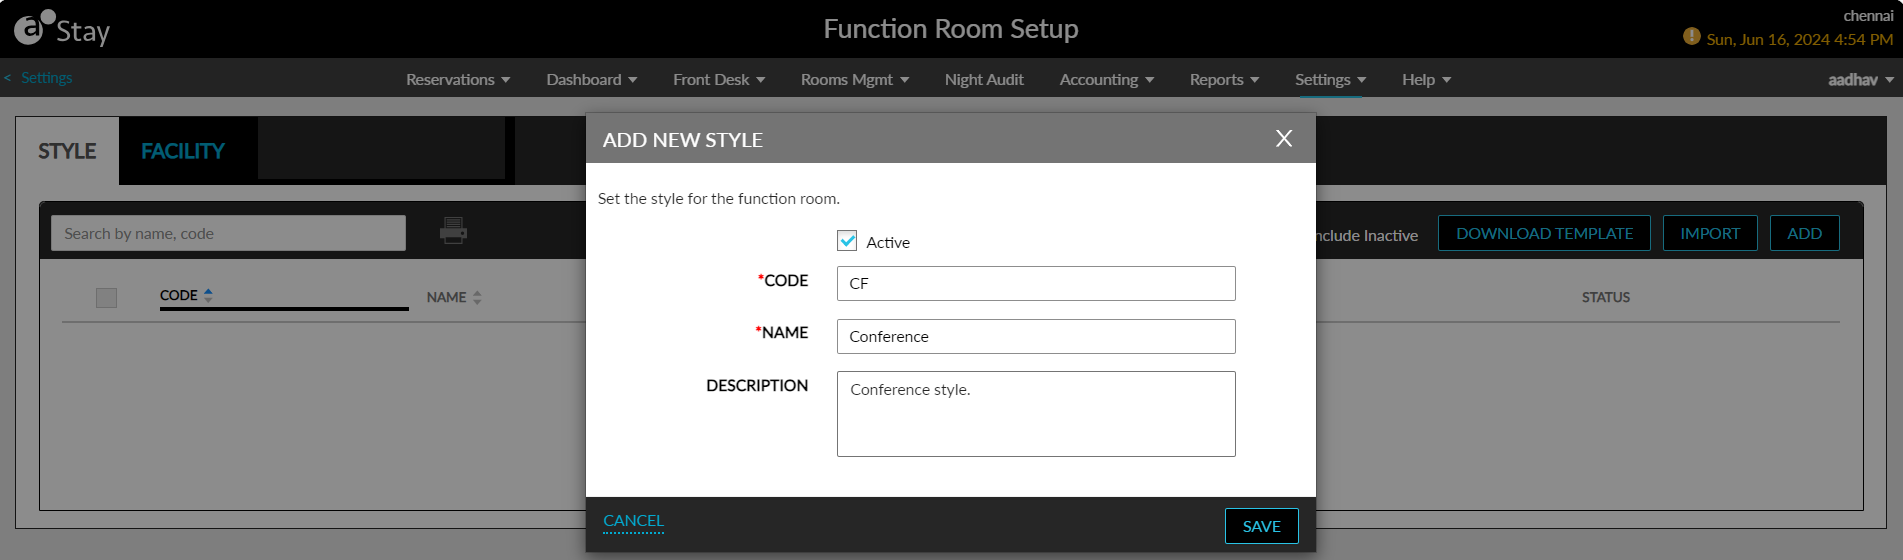
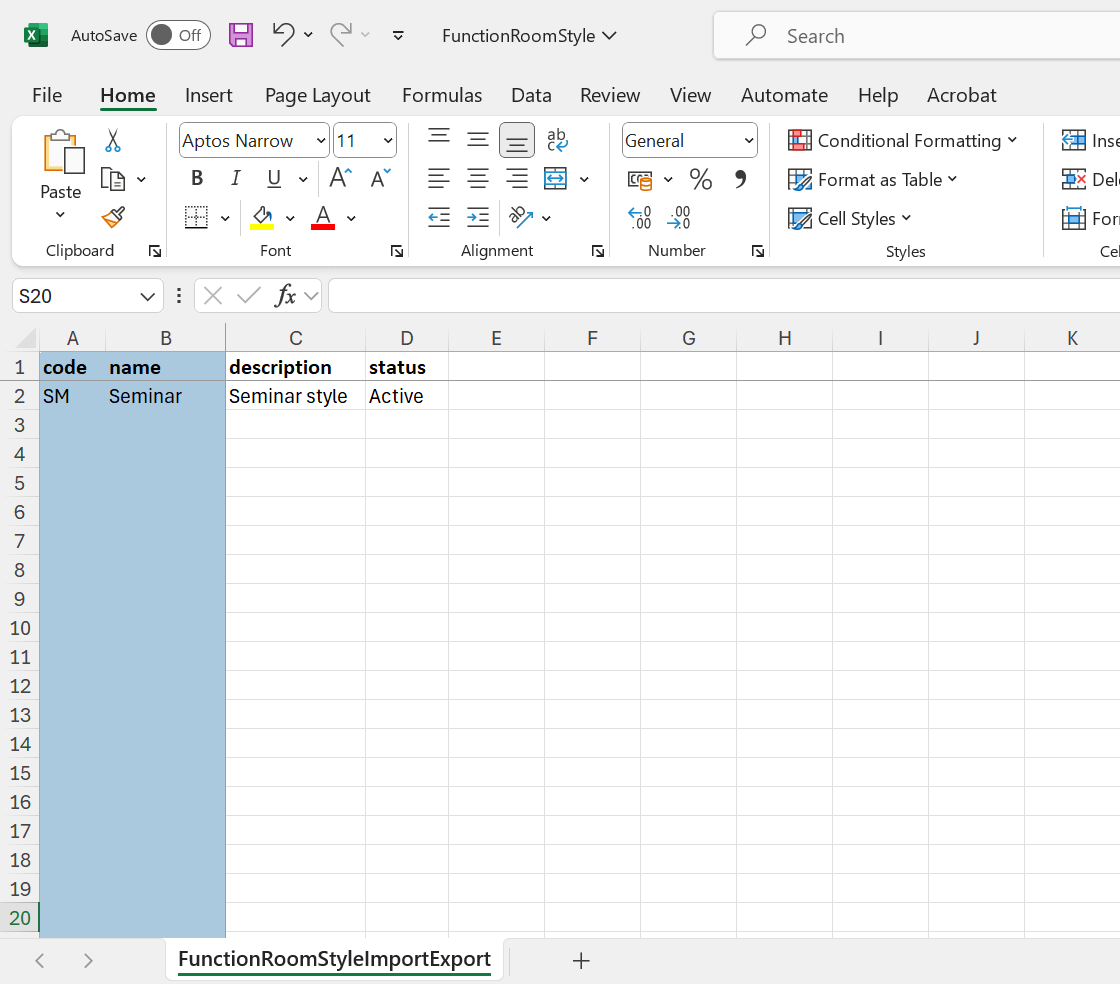
When users click Save, the created style will be displayed in the Style tab. Users can also choose to import function styles to the property. To import function styles, users must first download the template using the Download Template option. When clicked, the FunctionRoomStyle.xlsx file will be downloaded to the system. Users must configure values for the following columns in the downloaded template.
-
Code
-
Name
-
Description
-
Status
Users can import the function styles configured in the downloaded template using the Import option. When clicked, the Import Style pop-up screen appears that allows users to select the file to be imported. When users click Upload, the selected file will be processed, and the function styles will be imported to the property and displayed in the Style tab. By default, the styles imported to the property will be in the Active status. When the function styles are imported successfully, the message, Imported Successfully, will be displayed and when the styles are not imported successfully, the message, Could Not Import File. Please Try Again Later Using the Correct Data in the File, will be displayed.
The details of the function styles configured are displayed in the following columns in the Style tab:
-
Code
-
Name
-
Description
-
Status
When no configured styles are available for display, the message, No data available, will be displayed. By default, only styles in the Active status are displayed. To view the inactive styles, users must select the Include Inactive checkbox. Users can delete a style by clicking on the delete icon displayed for each style. To modify a style, users must click on the function style’s code displayed as a hyperlink in the Code column. When clicked, the Edit Style pop-up screen appears that allows users to modify the values for the following fields:
-
Active checkbox
-
Name
-
Description
The Code and Name columns can be sorted in the Style tab. Users can search for a record using the style name and code. Users can print the styles displayed in this tab by selecting the preferred styles and clicking on the Print icon. This icon will be enabled for selection only when there is at least one function style configured.
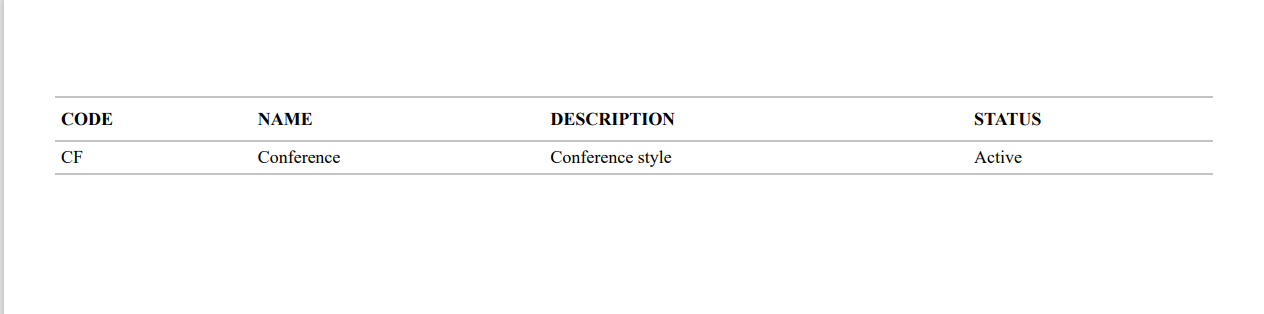
Users can download the configured function room styles in Stay as a PDF file by clicking on the download button.
Facility Tab
The Facility tab allows users to configure facilities for function rooms. The following are the examples of facilities that can be configured for a function room:
-
Restrooms: Essential amenities for guests.
-
Kitchen or Catering Areas: Spaces for food preparation and service.
-
Furniture: Tables, chairs, podiums, and staging equipment.
-
Parking: Parking lots or valet services for guest convenience.
-
Climate Control: Heating, ventilation, and air conditioning (HVAC) for comfort.
-
Accessibility Features: Ramps, elevators, and ADA-compliant facilities.
-
Wi-Fi or Internet Access: Network services for guests and event activities.
-
Storage Rooms: For equipment, supplies, or personal belongings
To configure facilities, users must click the Add button. When clicked, the Add New Facility pop-up screen appears that displays the following fields:
|
Field |
Description |
|---|---|
|
Active |
Select the checkbox to activate the facility. This checkbox is selected by default. When users deselect this checkbox, the created facility cannot be applied when configuring function rooms for the property. |
|
Code |
A unique code for a facility. This is a mandatory field. The code configured for a facility cannot be modified. |
|
Name |
A unique name for a facility. This is a mandatory field. |
|
Description |
A description of a facility. This is a mandatory field. |
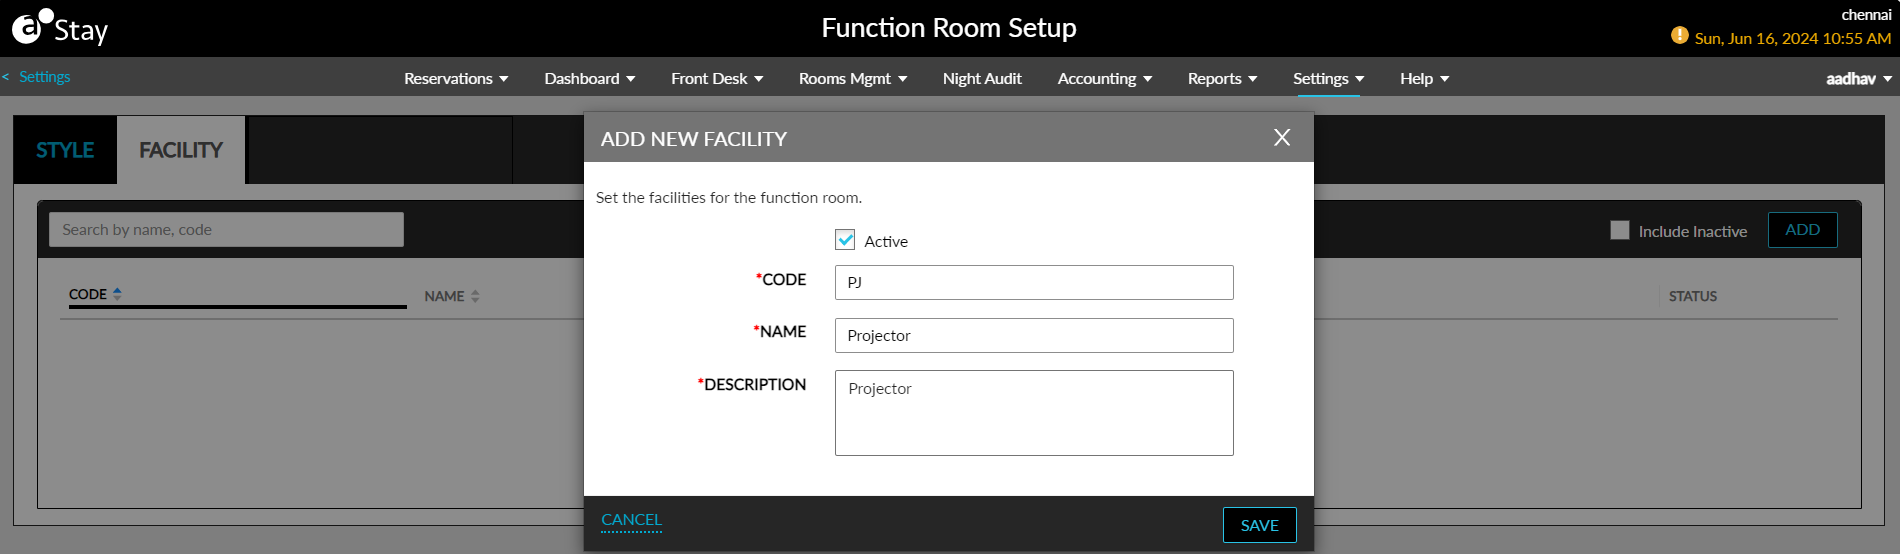
When users click Save, the configured facility will be saved and displayed in the Facility tab. The details of the facilities configured are displayed in the following columns in the Facility tab:
-
Code
-
Name
-
Description
-
Status
To modify a facility, users must click on the facility’s code displayed as a hyperlink in the Code column. When clicked, the Edit Facility pop-up screen appears that allows users to modify the values of the following fields:
-
Active checkbox
-
Name
-
Description
When no facilities are configured for display, the message, No data available, will be displayed. By default, only facilities in the Active status are displayed in the Facility tab. To view the inactive facilities, users must select the Include Inactive checkbox. The Code and Name columns in the Facility tab can be sorted. Users can search for a record using the facility name and code.
F&B Tab
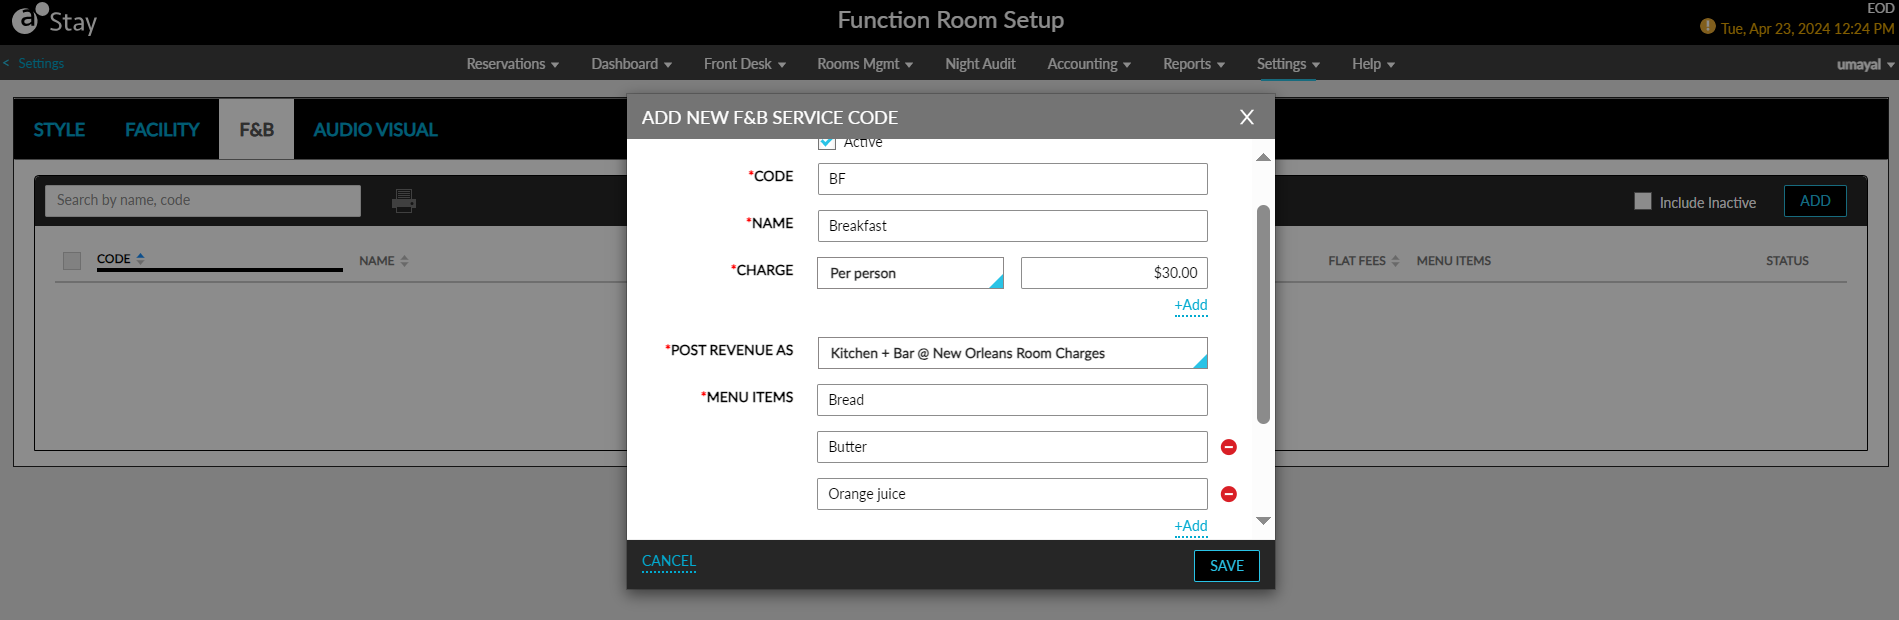
The F&B tab allows users to configure food and beverage service items that can be added to a function room at the time of booking. For example, users can create a service, Breakfast, that includes various items on the menu such as bread, butter, jam, coffee, orange juice, and so on.
When users click Add, the Add New F&B Service Code pop-up screen appears that displays the following fields:
|
Field |
Description |
|---|---|
|
Active |
Select this checkbox to create active food and beverage service items. Only active service items can be added to a function room during booking. |
|
Code |
This is a mandatory field that allows users to configure a unique code for a service item. |
|
Name |
This is a mandatory field that allows users to configure a unique name for a service item. |
|
Description |
This is an optional field that allows users to configure a description for the service item. |
|
Charge |
This is a mandatory field that allows users to select from the following options based on which the food and beverage service must be charged:
To select an additional charge, users must click the +Add hyperlink. Each option can be selected only once. Users can configure the amount to be charged in the input field provided. |
|
Post Revenue As |
Users must select the transaction item using which the amount charged for the food and beverage service item will be posted to the function room. Users cannot deactivate the item selected in the Post Revenue As drop-down list in the Guest Accounting screen. |
|
Menu Items |
This is a mandatory field that allows users to configure the items included for the food and beverage service item. Users can configure a maximum of 10 menu items using the +Add hyperlink. |
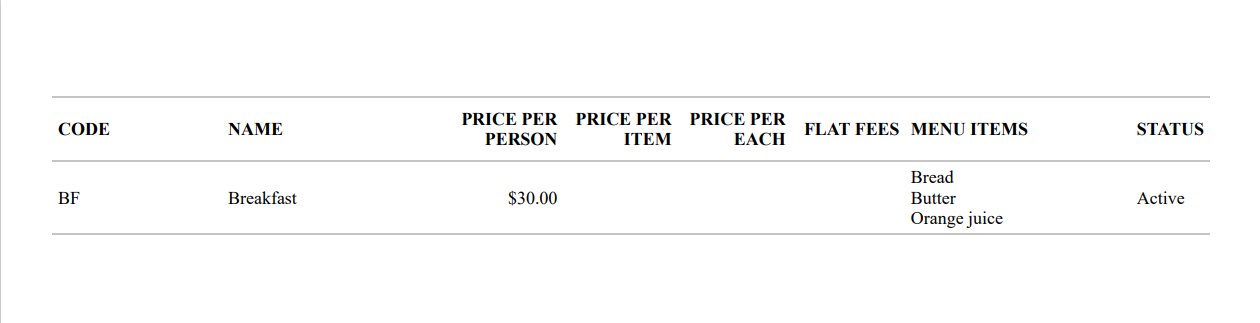
When users click Save, the food and beverage service item will be created and displayed in the F&B tab. This tab displays the details of the service items configured in the following columns:
-
Code
-
Name
-
Price Per Person
-
Price Per Item
-
Price Per Each
-
Flat Fees
-
Menu Items Options
-
Status
All columns except the Menu Items and Status columns can be sorted. Users can search for a service item using the description, service item name or code.
By default, when no service item is available for display, the message, No data available, will be displayed. Only the active service items are displayed in the F&B tab by default. Users must select the Include Inactive checkbox to view inactive items.
To modify a service item, users must click on the service item code displayed in the Code column as a hyperlink. When clicked, the Edit F&B Service Code pop-up screen appears that allows users to modify all fields except the Code.
Users can print the details of the service items configured by selecting the preferred service items and clicking on the Print icon. The Print icon will be enabled only when at least one service item is configured.
Users can download the configured food and beverage services in Stay as a PDF file using the download button.
Audio Visual Tab
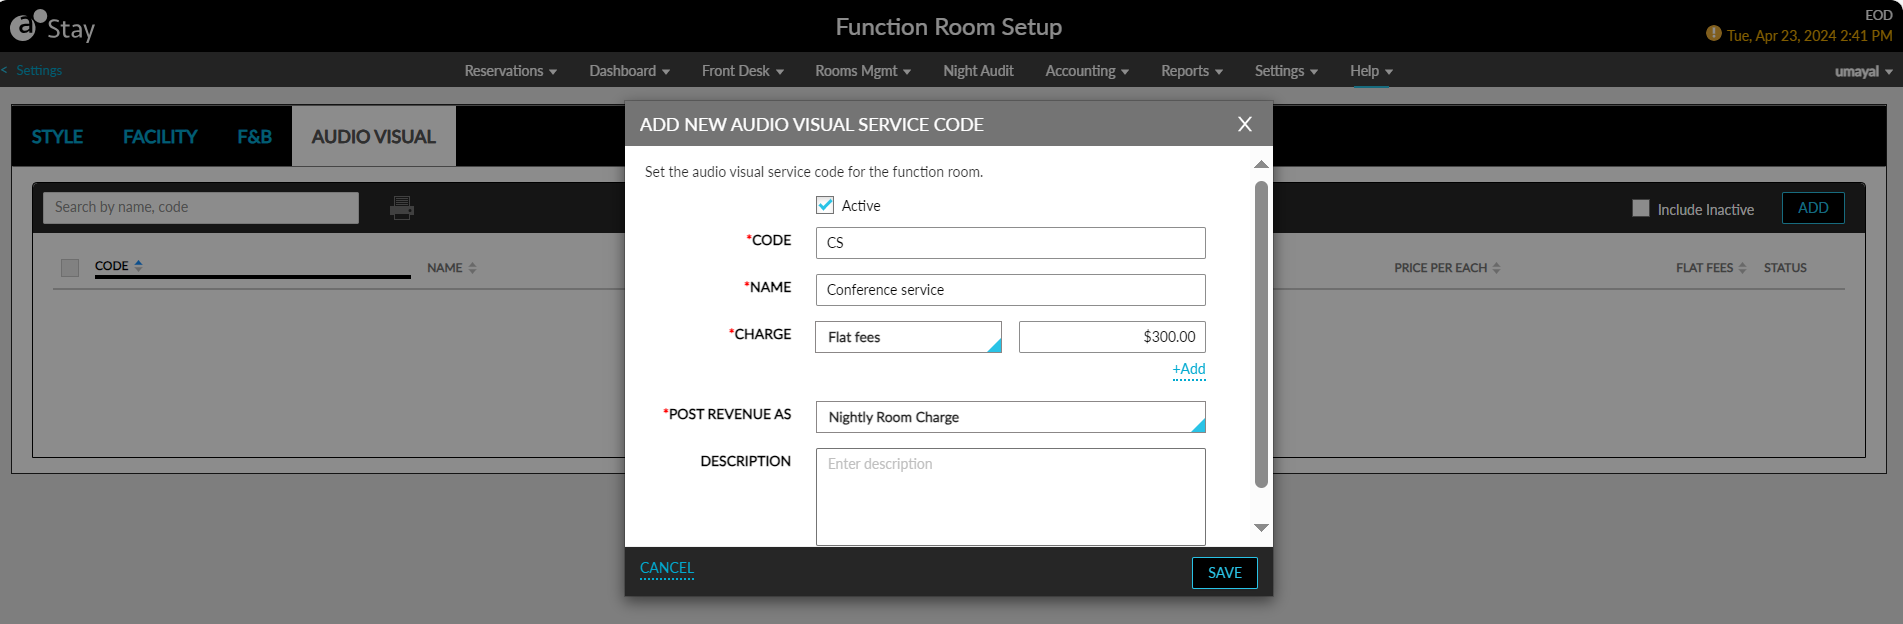
The Audio Visual tab allows users to configure audio visual services that can be added to a function room at the time of booking. For example, users can configure a service, Conference Rooms Service, that deals with the setting up of audio-visual equipment in conference rooms.
When users click Add, the Add New Audio Visual Service Code pop-up screen appears that displays the following fields:
|
Field |
Description |
|---|---|
|
Active |
Select this checkbox to create active audio-visual services. Only active services can be added to a function room during booking. |
|
Code |
This is a mandatory field that allows users to configure a unique code for a service. |
|
Name |
This is a mandatory field that allows users to configure a unique name for a service. |
|
Description |
This is an optional field that allows users to configure a description for the service. |
|
Charge |
This is a mandatory field that allows users to select from the following options based on which the audio-visual services must be charged:
To select an additional charge, users must click the +Add hyperlink. Each option can be selected only once. Users can configure the amount to be charged in the input field provided. |
|
Post Revenue As |
Users must select the transaction item using which the amount charged for an audio-visual service will be posted to the function room. Users cannot deactivate the item selected in the Post Revenue As drop-down list in the Guest Accounting screen. |
When users click Save, the audio-visual service will be saved and displayed in the Audio Visual tab. Details of the audio-visual services configured are displayed in the following columns:
-
Code
-
Name
-
Price Per Person
-
Price Per Item
-
Price Per Each
-
Flat Fees
-
Status
All columns except the Status column can be sorted. Users can search for a record using the description, service name or code.
By default, when no service item is available for display, the message, No data available, will be displayed. Only the active service items are displayed in the Audio Visual tab by default. Users must select the Include Inactive checkbox to view inactive items.
To modify a service item, users must click on the service item code displayed in the Code column as a hyperlink. When clicked, the Edit Audio Visual Service Code pop-up screen appears that allows users to modify all fields except the Code.
Users can print the details of the services configured by selecting the preferred services and clicking on the Print icon. The Print icon will be enabled only when at least one service is configured.

Users can download the configured audio-visual services in Stay as a PDF file by clicking on the download button.