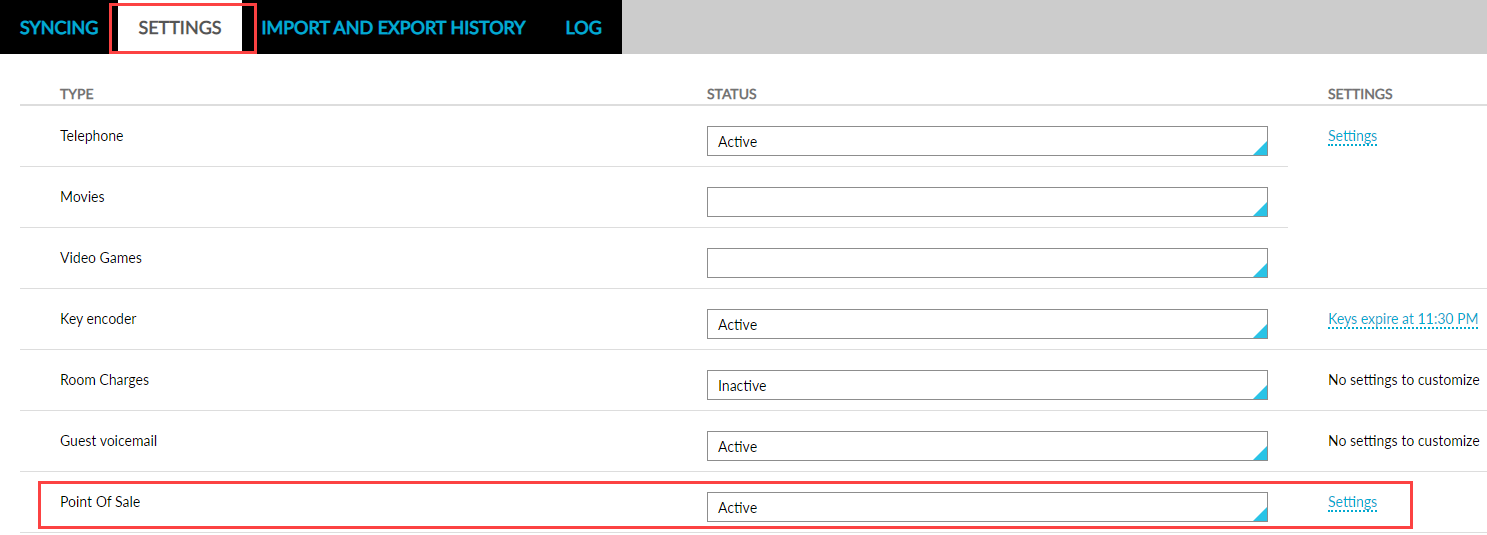
Settings
This section contains the following options:
-
Telephone - allows users to configure the default telephone settings and map transaction item to each call type
-
Movies - allows users to configure the default movie settings and map transaction item to associated movies
-
Video Games - allows users to configure the default video games settings and map transaction item to associated video game
-
Key encoder - allows users to configure the default key encoder settings and map transaction item to associated key encoder.
-
Room Charges - allows users to configure the default room charges settings and map them to the transaction item
-
Guest voicemail - allows users to customize the voicemail of guest
-
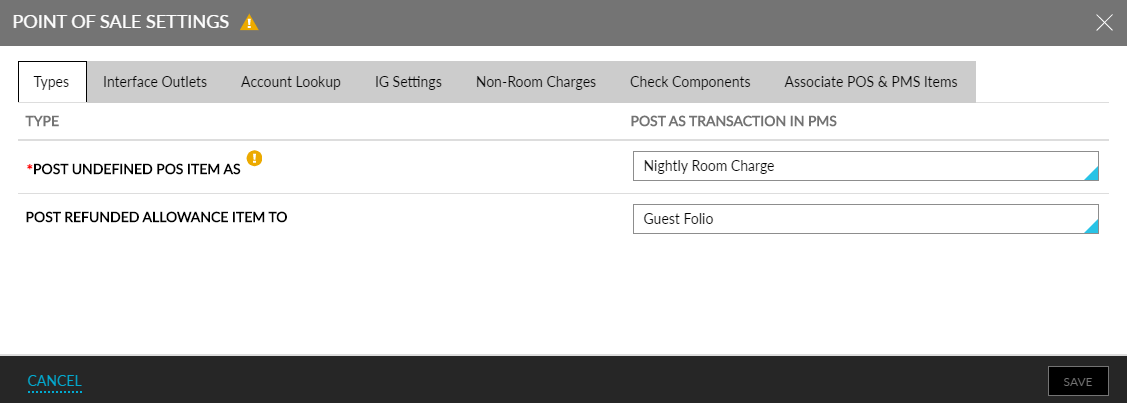
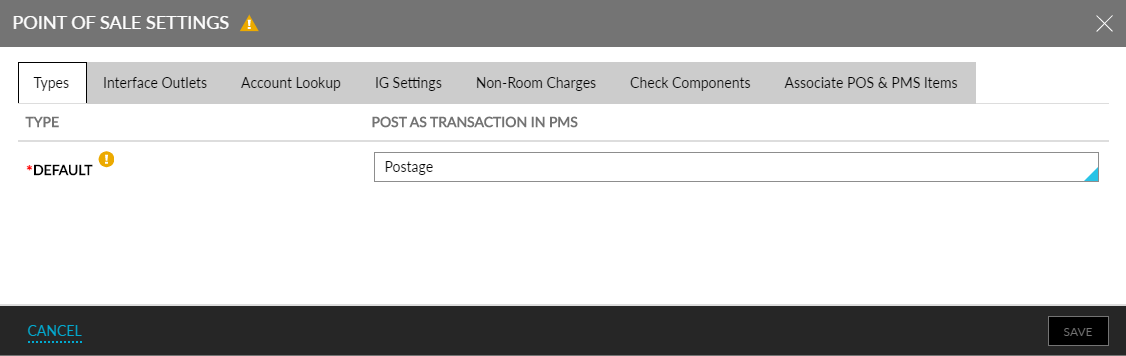
Point Of Sale - allows users to configure the default point of sale settings and map transaction item associated to the point of sale.
-
Housekeeping Code Mapping - allows users to map all housekeeping codes to PMS housekeeping conditions.
Telephone
The Call Accounting system will post real charges with each call. Stay will determine if the call is covered under allowances, and if so, zero out the charges, and suppresses the charge from printed or emailed folios. If the call exceeds the allowance amount, Stay determines a partial charge and posts accordingly.
These transaction items are posted to the guest folio and ARE visible to the guest on their printed folio. Examples of telephone transaction items include international calls, long distance, or local calls.
Perform the following steps to select the default telephone setting:
Select an Active Status for the telephone setting. By default, the Status of interface settings are automatically Inactive. It's not available if it's inactive. When an interface setting is active, it is available to associate to a transaction or posting.
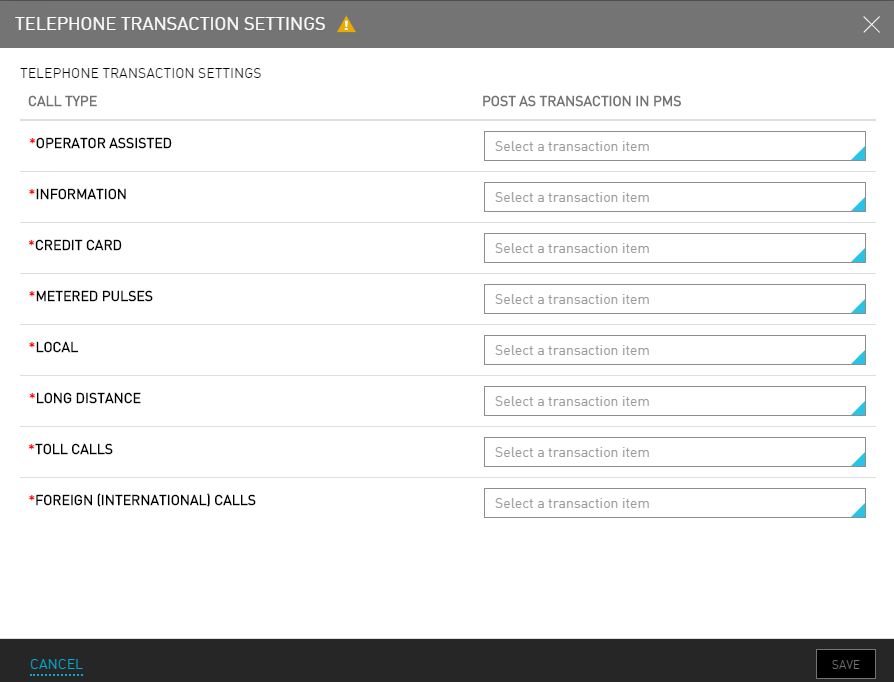
Once the settings are active, user can click the Settings hyperlinked modifier to open the Telephone Transaction Settings dialog box.
Choose which transaction item to map to each Call Type. For example, user could link the local call type to the phone call charge transaction item.
Click Save.
Movies
Perform the following steps to select the default movie setting:
Select an Active Status for the movie setting. By default, the Status of interface settings are automatically Inactive. It's not available if it's inactive. When an interface setting is active, it is available to associate to a transaction or posting.
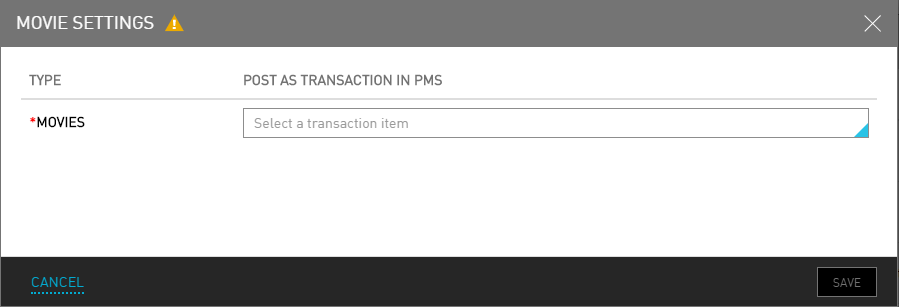
Once the settings are active, user can click the Settings hyperlinked modifier to open the Movie Settings dialog box.
Select a transaction item to associate movies with.
Click Save.
Video Games
Perform the following steps to select the default video game setting:
Select an Active Status for the Video Games setting. By default, the Status of interface settings are automatically Inactive. It's not available if it's inactive. When an interface setting is active, it is available to associate to a transaction or posting.
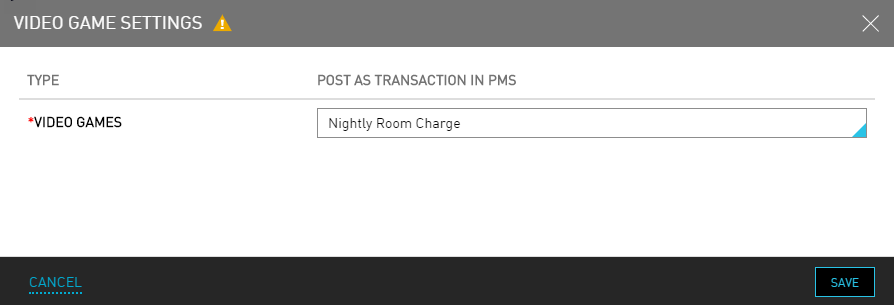
Once the settings are active, user can click the Settings hyperlinked modifier to open the Video Game Settings dialog box.
Select a transaction item to associate video games with.
Click Save.
Key Encoder Settings
Perform the following steps to select the default key encoder setting:
Select an Active Status for the key encoder setting. By default, the Status of interface settings are automatically Inactive. It's not available if it's inactive. When an interface setting is active, it is available to associate to a transaction or posting.
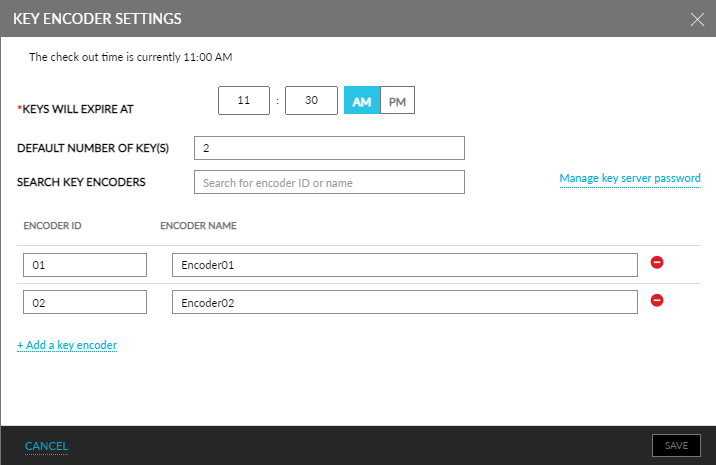
Click the Keys expire at XX:XX AM hyperlinked modifier to open the Key Encoder Settings dialog box.
Set a time in the Keys Will Expire At setting based on the check-out time of the property.
Enter the default number of keys in the Default Number of Keys field.
Enter encoder ID or name in the Search Key Encoders section.
Click the blue + Add a key encoder link to add a new key encoder.
Enter the Encoder ID for the encoder.
Enter the Encoder Name for the encoder.
Click Save.
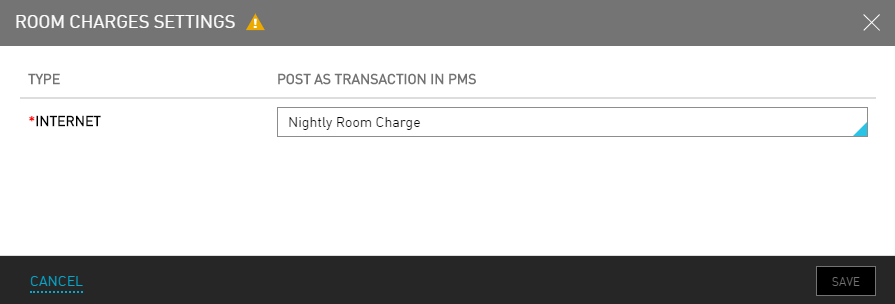
Room Charges
Perform the following steps to select the default room charges setting:
Select an Active Status for the Room Charges setting. By default, the Status of interface settings are automatically Inactive. It's not available if it's Inactive. When an interface setting is active, it is available to associate to a transaction or posting.
Select a transaction item to associate Room Charges with.
Click Save.
Guest Voicemail
There are no settings to customize in the Guest Voicemail option. By default, the Status of interface settings are automatically Inactive. It's not available if it's inactive.
Housekeeping Code Mapping
Perform the following steps to select the housekeeping code mapping setting:
Click the Settings hyperlinked modifier to open the Housekeeping Code Mapping dialog box.
The following housekeeping codes are displayed: CleaningInProgress, IP - In Progress, CleaningRequired, CleaningRequiredOccupied, CleaningRequiredVacant, CleaningSkipped, FailedInspection, InspectionRequired, MaintenanceRequired, OutOfOrder, PassedInspection, PickUp, RoomCleaned, RoomCleanedOccupied, RoomCleanedVacant
For each housekeeping code, select a PMS Housekeeping Condition from the dropdown.
Click Save.
Associate Housekeeping Codes Available In External Applications
Stay allows users to associate the housekeeping codes available in external applications with the housekeeping conditions configured in Stay through Comtrol in the Housekeeping Code Mapping screen.
Contact Agilysys to enable this feature for the property.
Permissions
The following permission must be assigned to use this feature.
-
Stay_ReadInterfaceConfig
To modify or configure the housekeeping codes available in external applications, users must be assigned the WriteInterfaceConfig permission.
The Stay_ReadInterfaceConfig permission is assigned to the following roles by default:
-
System Administrator
-
Stay Hotel Manager
-
Department Manager
-
Profile Management
-
Guest Service Agent
-
Stay Front Desk
-
Stay Hotel Supervisor
-
GSA Supervisor
-
Stay Housekeeping Supervisor
-
HK Supervisor
-
Stay Accounting
-
Accounts Receivable Manager
-
Stay Night Audit
-
Stay Reporting
When users are not assigned the WriteInterfaceConfig permission, they can only view the details configured. They cannot configure or modify values for any of the fields.
When this feature is enabled for a property, the Code column in the Housekeeping Code Mapping screen is replaced by Comtrol # and a new column, PBX Punch Code is displayed.
-
Comtrol #: This column displays the code number of the housekeeping codes available in Comtrol.
-
PBX Punch Code: This is an input field that allows users to configure the housekeeping codes available in external applications. Users can enter a maximum of 20 characters.
Users can associate the housekeeping conditions configured in Stay with the corresponding PBX punch codes in the PMS Housekeeping Conditions column. A new option, None, has been added to the drop-down list. This option can be selected when users prefer not to associate a PBX punch code with a housekeeping condition in Stay.
When this feature is not enabled for a property, the Code column is displayed in the Housekeeping Code Mapping screen as per the existing functionality.